Installation
1. Install Node JS to be able to use npm (js package manager)
https://nodejs.org/en/download/
After install Node JS, npm can be used.
To verify the installation successful can use the following command
node --version
npm --version
2. Then install ionic CLI using npm
Note: Use root or admin access to install
npm install -g @ionic/cli

# if to remove previous installation, use following command #
# -g means to install globally #

npm uninstall -g ionic
npm install -g @ionic/cli
Start project
Create new project using following command line. Several questions will be asked to setup the project – e.g. which js framework to use, initial framework etc.
ionic startIonic structure
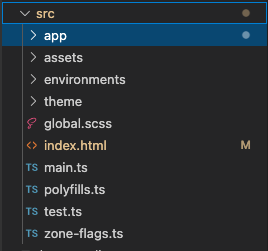
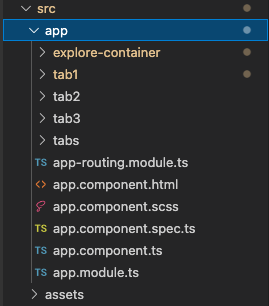
tab1, tab2 etc – page content
To preview the end result in browser, in terminal, go to project directory and run following command
ionic serveDefault port is 8100. To view the result, can go to http://localhost:8100
To add new page. Ionic generate command can be used to generate some other things as well like service, directive etc.
ionic generate

or in short:

ionic g
Compile ionic project to ios files. Before can start compiling, must do some setup on Xcode
- install Xcode in mac
- Once Xcode is installed, make sure the command-line tools are selected for use
type this in terminal – xcode-select — install - Setup a development team
- xcode > preferences > accounts. Add an apple ID. Once logged in, personal team will appear in the team list
- Create iOS simulator
- open xcode. Navigate to Window > Devices and Simulators. Can choose any simulator available
- Install ios-sim and ios-deply as below
The ios-sim and ios-deploy are utilities that deploy apps to the iOS simulator and iOS devices during development. They can be installed globally with npm.
npm install -g ios-sim
brew install ios-deploy
Build files for ios
- Generate native project. run at terminal:
- ionic capacitor add ios
- ionic capacitor open ios
- ionic capacitor copy ios
Resources